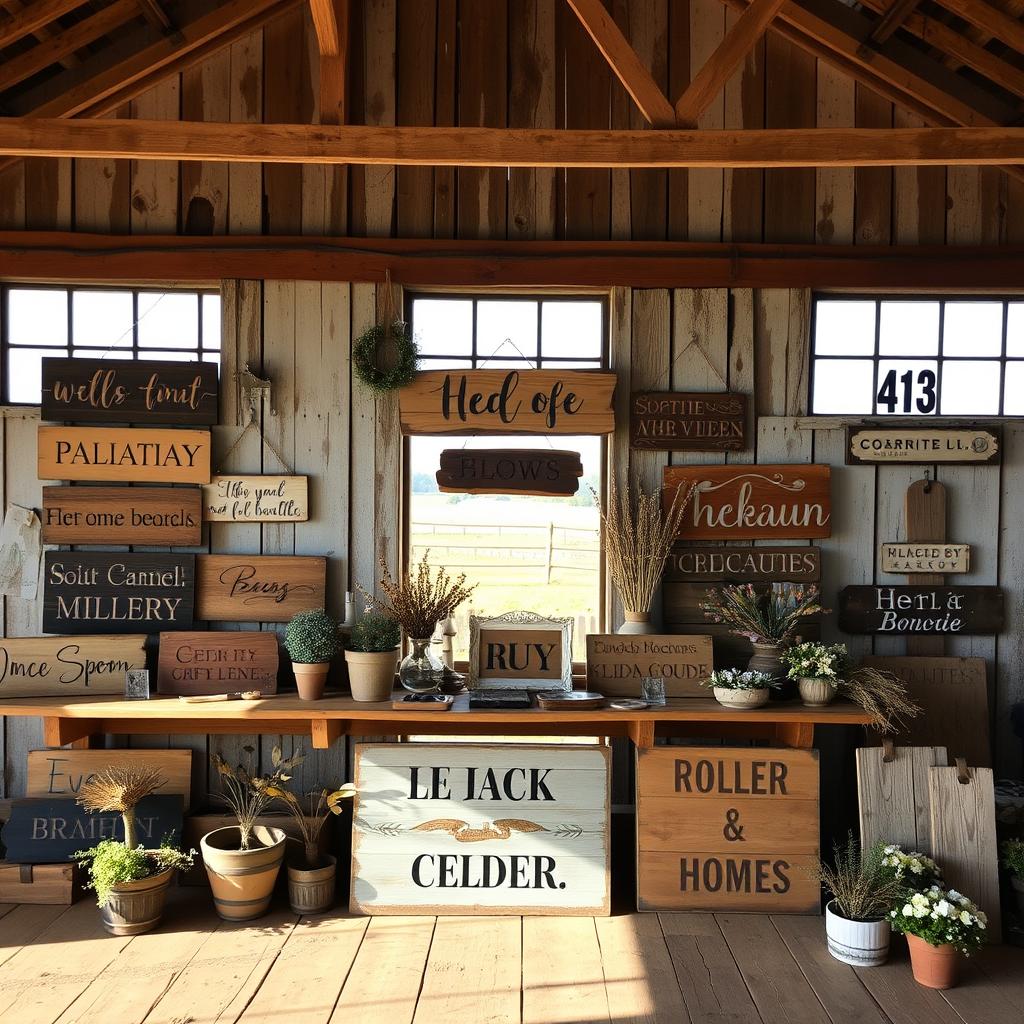
Imagine walking into a cozy room or a bright garden and seeing a rustic wooden sign. It feels like a warm hug from nature. These handmade signs can transform any space, from a living room to a garden path. They turn simple wood into stories.
And the best part? You don’t need to be a pro to make them. Just a few basic tools and your imagination are all you need. It’s a fun way to decorate your home without spending a lot.

Creating a sign yourself is incredibly rewarding. You’ll have a unique piece that fits your style perfectly. These projects let you play with different textures, stains, and designs. Each mark and word tells a story of your home.
Are you ready to make your space feel more like home? Start with a rustic wooden sign project today.
Key Takeaways
- Rustic wooden signs add instant charm to both indoor and outdoor spaces with minimal cost.
- Perfect for beginners, these projects require only basic tools and materials.
- Customize designs to match farmhouse, modern, or eclectic décor seamlessly.
- Wooden signs offer durability for outdoor use and adaptability for seasonal updates.
- Crafting by hand creates unique pieces that reflect your personal style and creativity.
Essential Tools and Materials for Rustic Wooden Sign Projects
Starting your diy home improvement journey with rustic wooden signs requires the right tools and materials. Whether you’re a woodworking for beginners enthusiast or a seasoned crafter, this section breaks down what you need to gather before you start.
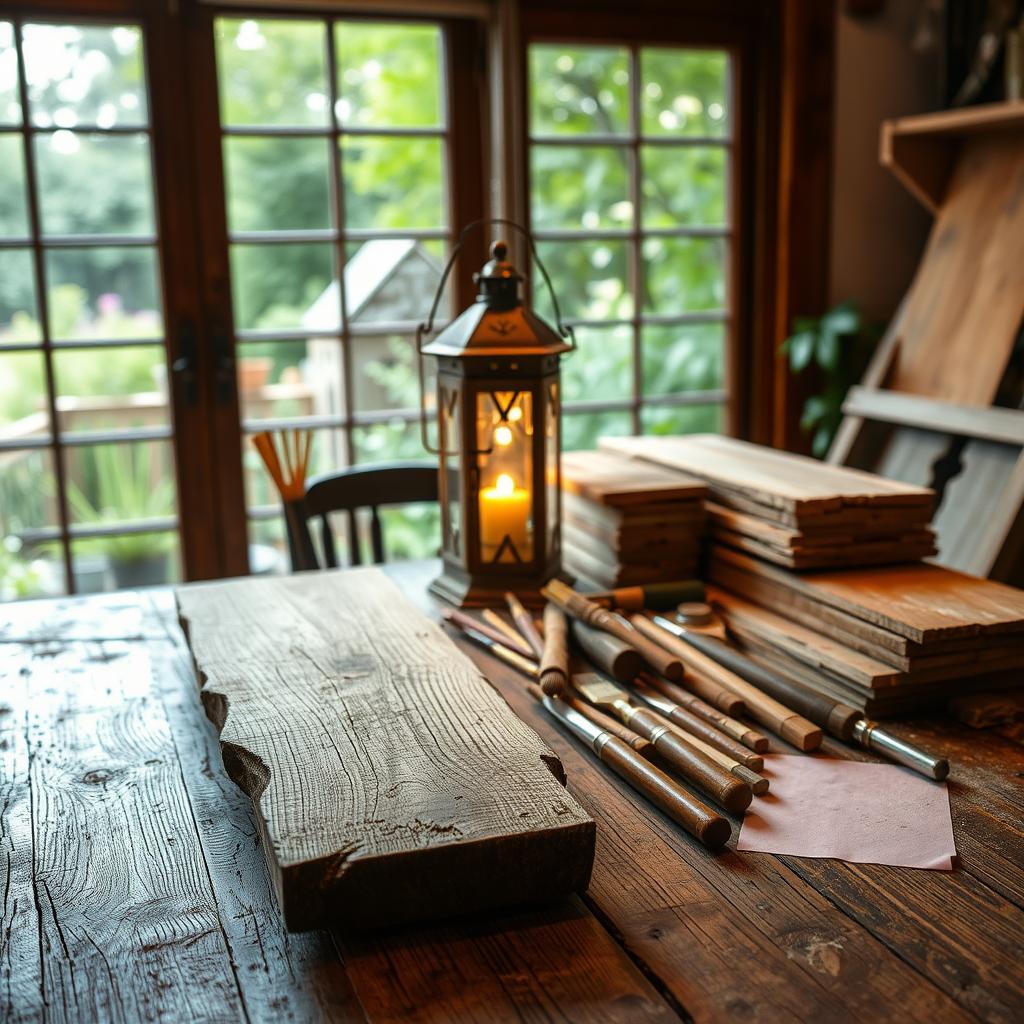
Must-Have Basic Tools for Beginners
- Measuring tape: A 25’ Stanley tape measure ensures precise cuts.
- Sandpaper: 120- to 220-grit sheets smooth wood surfaces.
- Utility knives: X-Acto blades for stenciling edges.
- Paintbrushes: Flat brushes from Home Depot work well for even coats.
Budget-conscious options include Harbor Freight saws for basic cuts and Dremel rotary tools for detailing.
Selecting the Right Wood Types for Different Effects
Pine offers affordability and light grains. Cedar resists rot, ideal for outdoor signs. Reclaimed barn wood adds aged charm. Check stores like Menards or local lumberyards for deals. Grain patterns and knots in the wood enhance rustic texture naturally.
Budget-Friendly Supply Options
Scour thrift stores for second-hand clamps. Scrap wood from construction sites costs pennies. Online marketplaces like Facebook Marketplace often list pre-sanded planks. Even acrylic paints from craft stores like Michaels work as substitutes for pricier stains.
Stick to starter kits from brands like Rust-Oleum for paints and sealants. Prioritize quality tools that grow with your skills without overspending.
Choosing the Perfect Wood for Your Rustic Signs
Every piece of wood has its own story. When picking wood for rustic signs, look for materials that bring natural charm. Old fence planks or salvaged pallets have unique textures and imperfections. These “flaws” become features for simple woodworking ideas.

- Choose pine or cedar for soft grains that accept stains easily
- Opt for oak or reclaimed wood for bold knots and rustic depth
- Check for moisture resistance if using outdoors
- Prefer ½” to ¾” thickness for structural stability
“The best rustic wood has visible history—think cracks from drying or faded paint layers,” says DIY expert Linda Carter. “These details make each project one-of-a-kind.”
Repurposed materials like barn wood or discarded furniture legs add instant character to home décor crafts. Avoid wood with visible rot or insect damage. But, embrace minor dents or faded patinas. For outdoor signs, use pressure-treated pine or cedar to resist moisture.
Indoor projects can use softer woods like poplar for lighter weights and easier carving. Try mixing woods in layered designs. For example, attach a thin driftwood slice to a pine base for dynamic texture. Always sand surfaces lightly to smooth edges without erasing natural markings. This mindful selection turns raw materials into statement pieces that reflect your personal style.
Design Ideas That Capture Rustic Charm
Turn raw wood into rustic treasures with simple yet stylish designs. These ideas are perfect for woodworking projects for beginners. They show how to mix text, texture, and themes without making things too hard.
“Rustic designs are about emotion, not perfection—let your imperfections tell a story.”
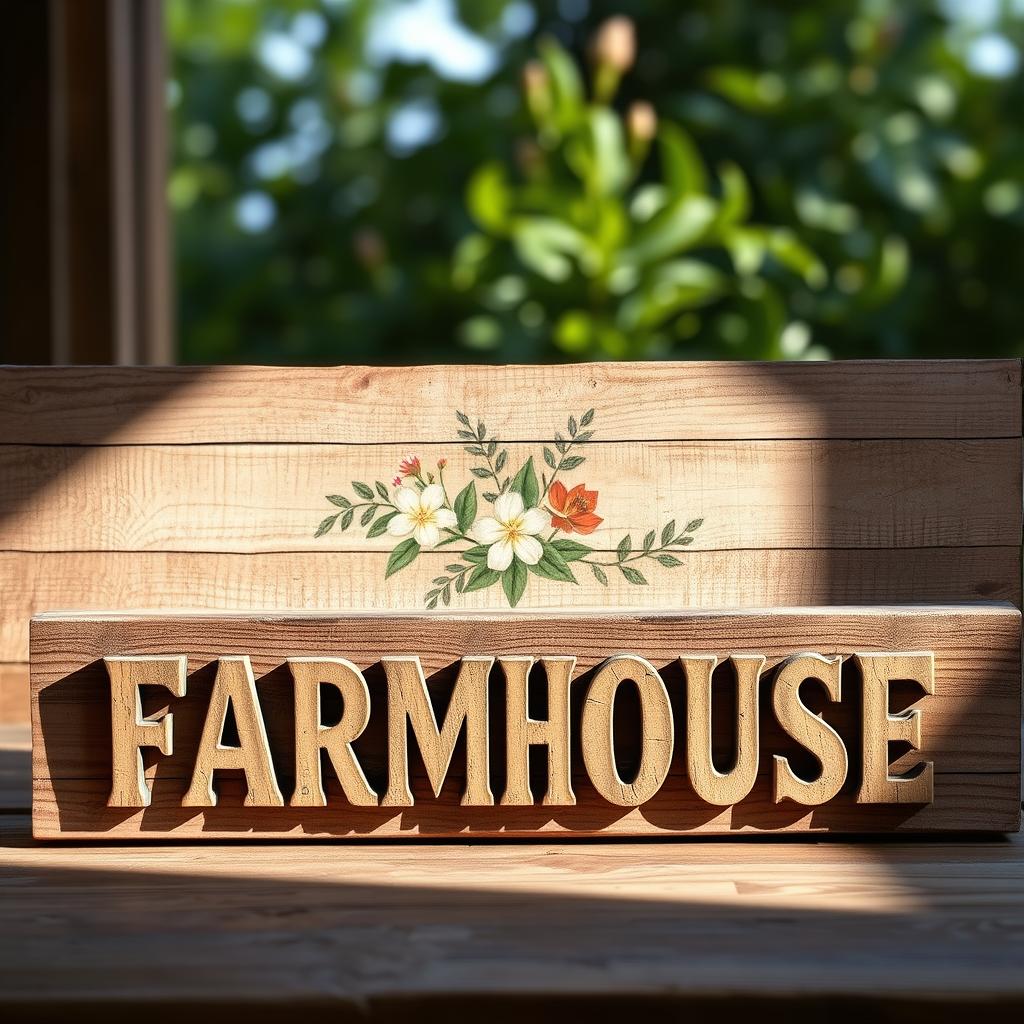
Farmhouse-Inspired Lettering and Quotes
Choose bold fonts like Merriweather or Shelby Script. Pair them with short phrases like “Home is Where the Heartwood Grows” and painted edges. Start with stencils to avoid mistakes. These beginner woodworking tips help you get your layout right before you start cutting or painting.
- Use chalk paint for easy edits on farmhouse quotes
- Add faux cracks with sandpaper for an instant aged look
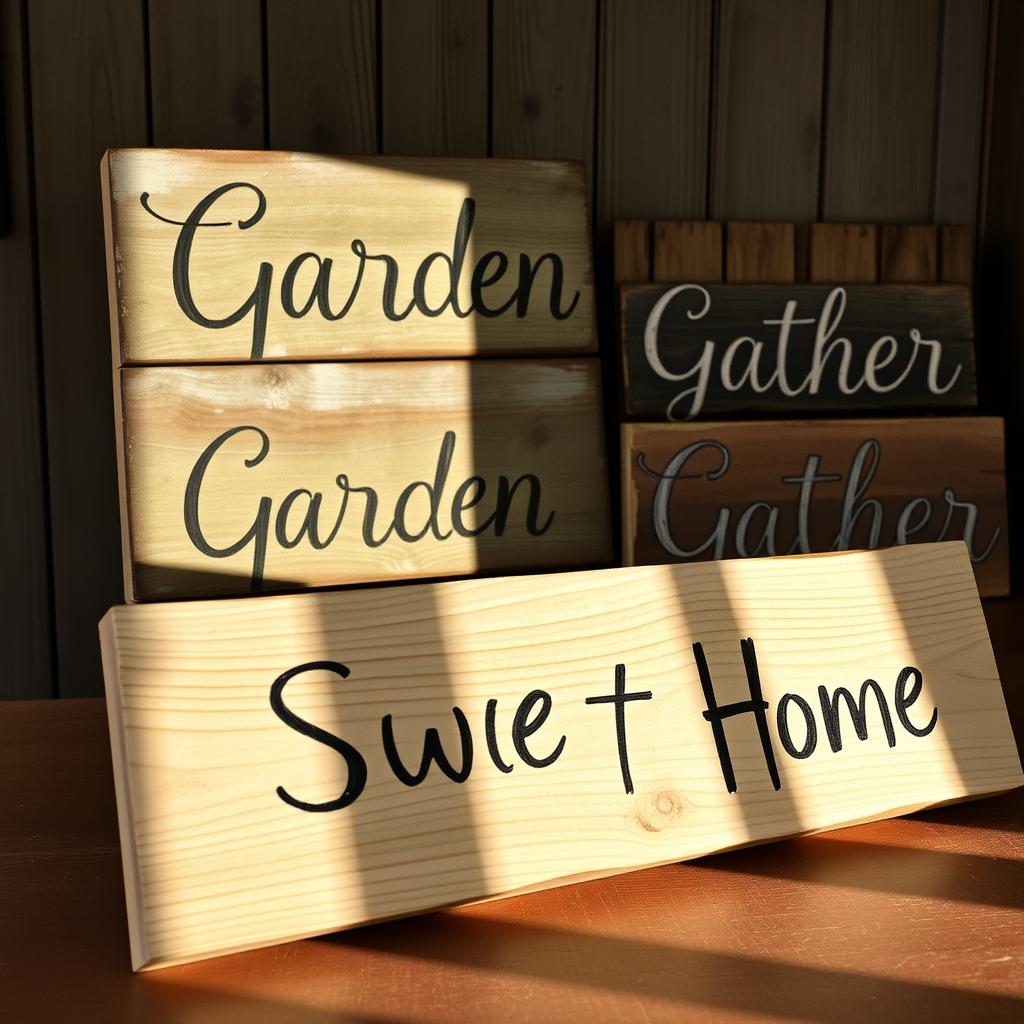
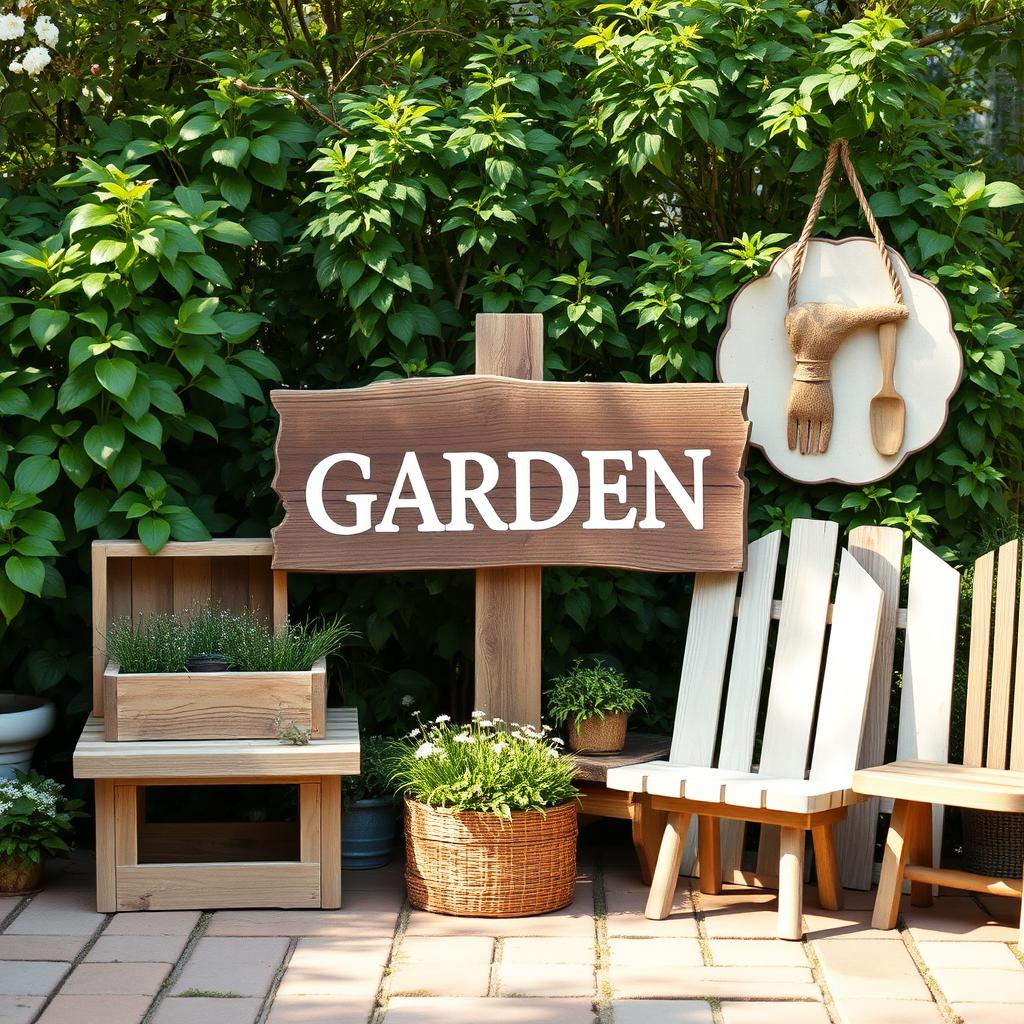
Nature-Themed Designs for Garden Signs
Carve pine branches or birds with a craft knife—no need for fancy tools. Press real leaves into wet paint for natural patterns. A squirrel silhouette with “Garden Guardian” adds a special touch. These designs are perfect for garden markers or porch decorations.
Seasonal and Holiday Concepts
Change up your decor with the seasons! Paint pumpkins orange for fall. Try snowflake stencils on cedar for winter. Holiday signs like “Joy to the Woods” make great gifts. Seasonal projects are budget-friendly and great for honing your skills.
Balance text and images: small signs focus on one quote, while bigger ones mix shapes and colors. Keep it simple to show off your skills!
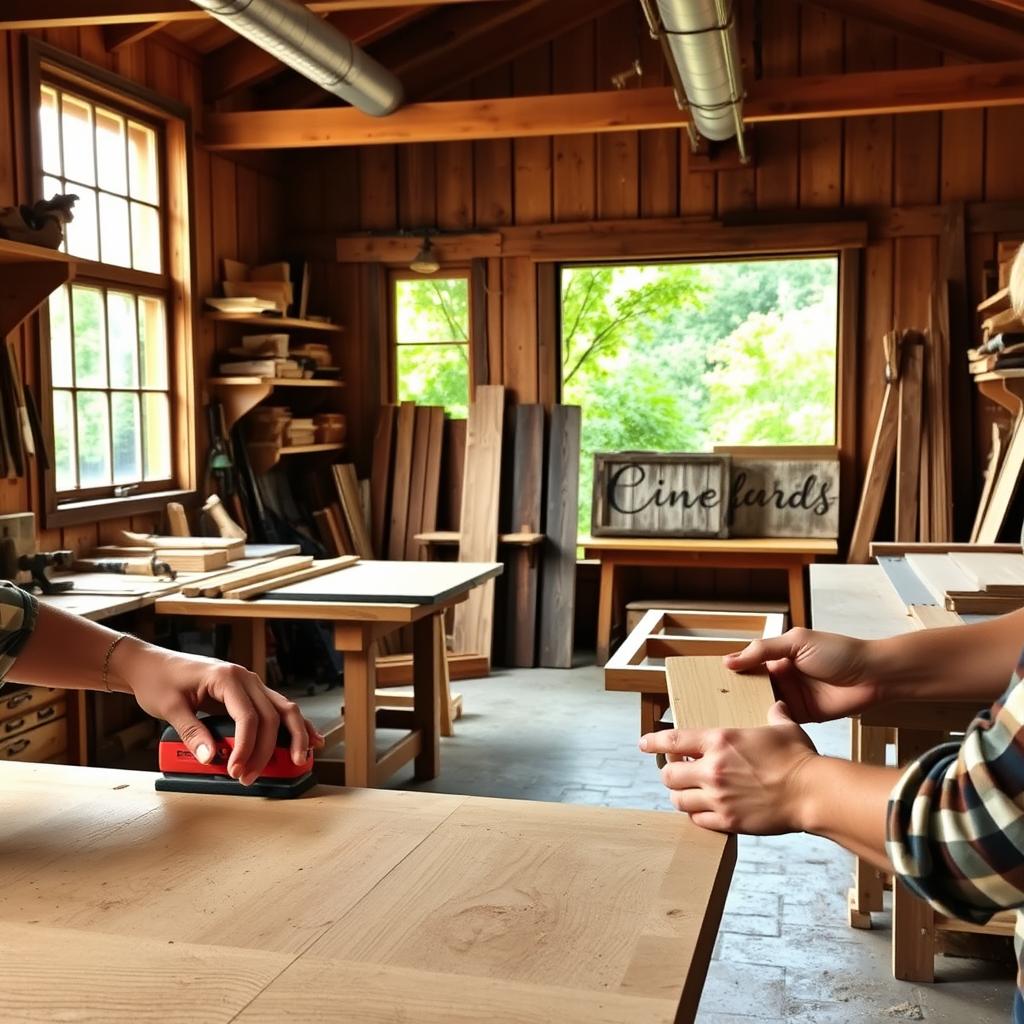
Step-by-Step Guide to Creating Rustic Wooden Signs for Home and Garden Décor
Creating rustic wooden signs is easy with these steps. We’ll make it simple with projects anyone can do. Whether you’re new or need a refresher, this guide will help you succeed.
Preparing Your Wood Canvas
Start by cleaning your wood with a wire brush and mild soap. Sand it with 80-grit paper to get rid of old finishes. Then, switch to 120-grit for a smoother surface. Leave natural cracks and knots to add to the rustic look.
Using an orbital sander can save you time. It keeps the texture without losing quality.
- Use a tack cloth to wipe dust after sanding
- Test stain or paint on a scrap piece first
Transferring Your Design
Choose how to transfer your design based on your skill. Carbon paper is good for simple shapes. Stencils help with precise letters. Projectors are great for detailed patterns, perfect for home décor projects.
Freehand drawing is for those who are confident in their skills.
Cutting and Carving Techniques
For bold curves, start with a jigsaw. Use a utility knife for fine details. A Dremel tool is perfect for intricate textures. Always clamp the wood to keep it steady.
| Tool | Best For | Safety Tip |
|---|---|---|
| Jigsaw | Curved edges | Wear safety glasses |
| Utility Knife | Fine lines | Cut away from your body |
| Rotary Tool | Letter carving | Use a low-speed setting |
Practice on scrap wood before working on your final piece. Mistakes are okay—they add to the rustic charm.
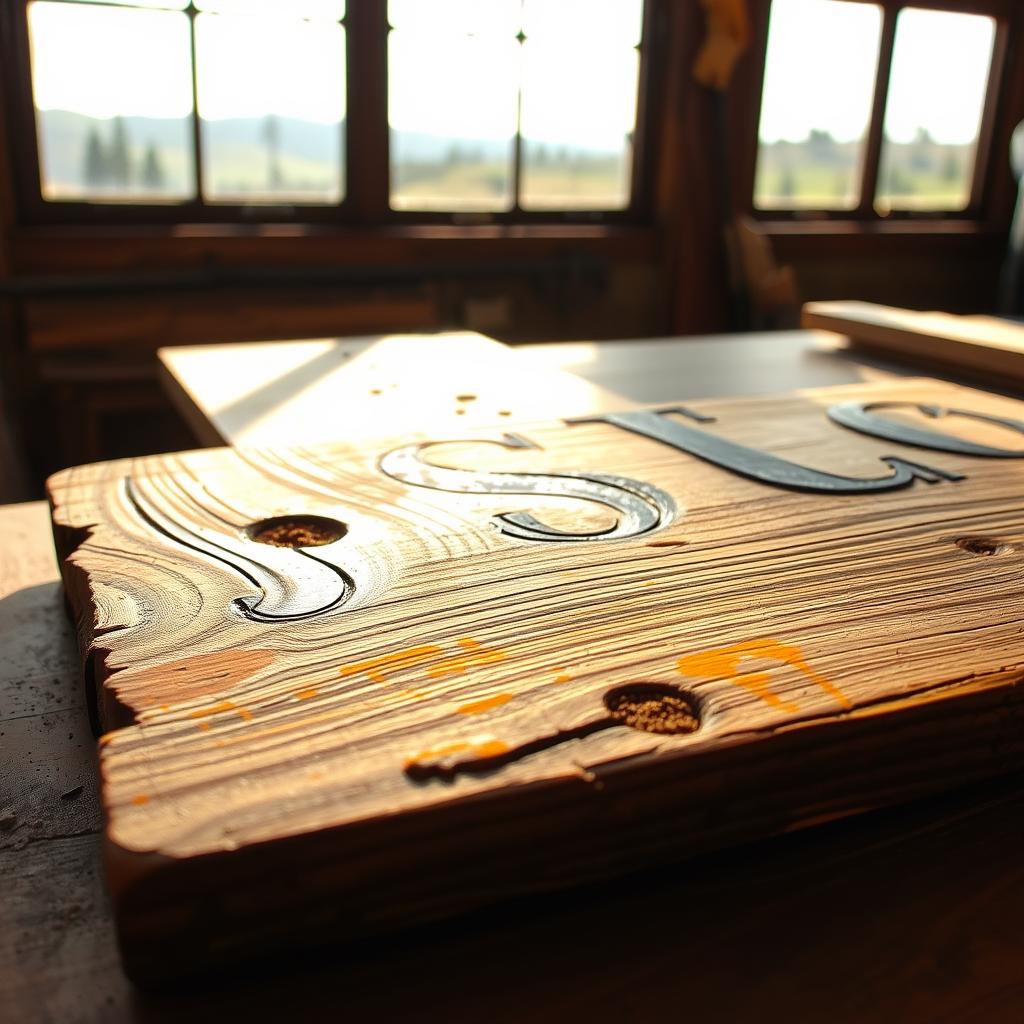
Weathering and Distressing Techniques for Authentic Rustic Appeal
Adding aged charm to your wooden signs is easy with simple weathering methods. These are great for beginner-friendly woodworking projects to enhance your home décor. Use brewed tea or vinegar mixed with water to stain wood surfaces. This mimics years of natural exposure.
Dip a sponge in the solution, dab it onto your sign, and let it dry for a sun-bleached look. For deeper texture, drag a wire brush along grain lines or tap the surface lightly with a hammer. This creates subtle dents.

- Coastal: Saltwater-soaked rags create a faded, salty patina
- Mountain: Coffee-stained edges and rough-sanded corners
- Western: Charred edges using a heat gun for scorched-wood effects
| Technique | Materials | Effect |
|---|---|---|
| Tea Stain | Strong tea + sponge | Soft golden patina |
| Wire Brush Scrub | Steel wool | Exposed wood grain |
| Acid Wash | White vinegar + water | Lightened surface tones |
Always distress before painting for layered effects—paint first if replicating furniture-like wear. Test samples on scrap wood to perfect your aging formula. These methods turn plain lumber into story-rich pieces that instantly boost your home’s rustic ambiance.
Painting and Staining Methods That Enhance Rustic Character
Finishing your wooden signs with the right colors and techniques makes them stand out. Choose hues that look like they’ve aged naturally—think weathered blues, faded reds, or soft grays. These colors bring out the rustic vibe.
Color Palettes That Complement Rustic Décor
Opt for muted tones like driftwood gray or honey oak for a timeless look. Mix milk paint with white wash for a barn-board effect. For bold accents, try Benjamin Moore’s “Historical Gray” or “Barn Red” from Rust-Oleum. Always test colors on small wood scraps first.
Layered Techniques for Depth
- Color wash: Dip a sponge in diluted paint, dab excess, and pat onto wood for subtle texture.
- Dry brushing: Drag a nearly-dried brush along edges to highlight carved details.
- Antiquing: Apply dark glaze over light paint, then wipe with a cloth for aged shadows.
Protective Finishes for Indoor vs. Outdoor Use
Indoor signs do well with matte polyurethane or beeswax for a soft sheen. For outdoor projects, use spar urethane (like Minwax) to resist moisture. Avoid glossy finishes—they clash with rustic textures. Apply coats thinly with a foam brush to prevent drips.
Creative Ways to Display Your Wooden Signs Around the Home
Turn your DIY wooden signs into eye-catching home decor with these simple tips. Whether you’re decorating a cozy living room or refreshing your entryway, these ideas will make your handcrafted pieces stand out. They’ll become the talk of the town.
Gallery Wall Arrangements
Make a stunning gallery wall by mixing sign sizes and shapes. Begin with a big centerpiece, like a large farmhouse quote. Then, add smaller designs around it.
Use a grid on the floor to plan your layout before hanging. For a sleek look, keep frames 2-3 inches apart.
Mantel and Shelf Styling
Decorate mantels with seasonal signs and potted plants or candles. Place books or throws under signs for extra depth. Floating shelves are great for vertical signs.
Pair them with ceramic pots for a simple woodworking ideas update that fits any room.
Entryway and Porch Displays
Display weather-treated signs above front doors with strong hooks. Add lanterns or wreaths for a warm welcome. For porches, use UV-resistant sealants and secure signs with adjustable brackets.
These beginner-friendly home renovation tips make outdoor areas feel unique without a lot of work.
Try adhesive command strips on delicate walls or toggle bolts for heavy signs. Change your displays with the seasons to keep your space looking new!
Garden Sign Placement Strategies for Maximum Impact
Make your outdoor space better by placing your handmade signs wisely. Look for spots like garden entryways or paths.
Think about where people naturally stop and where a little personality is needed.
- Pathway Markers: Place small signs 3–5 feet up to guide visitors without blocking views.
- Vertical Surfaces: Attach to fences or garden structures using weatherproof brackets for year-round visibility.
- Seasonal Rotations: Plan for seasonal plant growth—keep signs above shrubs to avoid obscuring as foliage grows.
| Type | Best Use | Tip |
|---|---|---|
| Pathway | Directional signage | Use non-slip mounting hardware |
| Arbor | Seasonal greetings | Center-align for symmetry |
| Corner | Thematic clusters | Pair with potted plants for depth |
Match rustic signs with plants like trailing vines or low shrubs for a look. For woodworking for beginners fans, start with a simple herb garden marker. For nighttime, add solar string lights or choose light-colored stains for evening beauty. Always check hardware and reapply sealants to protect woodworking projects for home décor from moisture. A well-placed sign tells a part of your garden’s story.
Troubleshooting Common Challenges in DIY Wooden Sign Projects
Mistakes are part of the journey. These beginner woodworking tips turn errors into opportunities. Every mistake is a chance to try something new.
“A mistake is just a hidden solution waiting to be discovered.” – Woodworking Pro
Fixing Wood Splits and Cracks
- Use wood glue for small cracks: Clamp until dry and sand smooth.
- Fill large gaps with epoxy resin for a modern touch.
- Embrace rustic charm: Leave splits unpainted to add texture.
Correcting Paint Bleed Under Stencils
- Blot wet paint with a rag dipped in mineral spirits.
- Use a toothpick to clean fine lines once dry.
- Apply a thin base coat before stenciling next time.
Salvaging and Repurposing Failed Projects
Turn “failures” into fresh starts:
- Cut broken pieces into coasters or trivets.
- Paint over mistakes for a new design theme.
- Break intentionally to make mosaic-style wall art.
Remember, easy woodworking projects often start with learning from missteps. Every repair teaches patience and creativity. What seems like a flaw might become the project’s most unique feature. Share your fixes online—DIY communities love seeing problem-solving in action!
Conclusion: Bringing Character to Your Space with Handcrafted Wooden Signs
Your hands can turn raw wood into something special. Rustic wooden signs are more than just decor; they tell stories. They can be a farmhouse quote above the mantel or garden signs in the sun.
Start with simple projects like small wall art. Then, move on to bigger outdoor pieces. Each mark or stroke adds warmth to spaces filled with mass-produced items.
Love the imperfections. A little unevenness or a brushstroke that bled? That’s what makes it special. As you get better, try more projects like a weathered headboard or a reclaimed shelf.
Share your skills online or at local craft stores. Giving a handmade sign is more meaningful than buying one. Every project makes your home more personal.
Rustic woodworking is about the journey, not perfection. It’s about your tools, vision, and space. Let your sign’s patina show the time and care you put into it.
Whether you’re new to woodworking or experienced, adding character is always right. Next time you see a home goods store, think about what you could make instead. Your living room or garden is waiting for your touch.
FAQ
What are some beginner-friendly woodworking projects to enhance my home décor?
There are many easy woodworking projects to improve your home. You can make rustic signs, simple shelves, or unique picture frames. These projects need just a few tools and can be customized to your taste.
What tools do I need for easy woodworking projects?
For simple woodworking, you’ll need a saw, measuring tape, sandpaper, and a drill. You can find these tools at local stores without spending too much.
Can I use reclaimed wood for DIY home improvement projects?
Yes, using reclaimed wood is a great idea. It adds character to your projects and is good for the environment. Just check the wood for damage or pests first.
What are some simple woodworking ideas for beginners?
Beginners can try making coasters, a small bench, or wooden planters. These projects help you learn basic skills like cutting and sanding.
How can I find woodworking projects for beginners that suit my skill level?
You can find beginner projects online, at libraries, or in woodworking groups. Websites also offer tutorials with step-by-step guides.
What are some beginner woodworking tips I should know?
Start with simple designs and measure carefully. Always wear safety gear. Watching videos and asking experts can also help.
How do I incorporate my woodworking projects into my home décor?
Match your woodworking with your home’s color and furniture. Use wooden signs or shelves to display your work and other items.
Are there any common challenges in woodworking that beginners face?
Yes, beginners often struggle with measurements, joining pieces, and finishes. Don’t worry, every woodworker faces these issues. The key is to learn and keep practicing.
What are some budget-friendly supply options for woodworking projects?
Look for deals at local stores, flea markets, or reuse items from home. Salvaging wood can also save money and add uniqueness to your projects.
How do I care for my wooden projects once they are completed?
Keep your wood clean, apply protective finishes, and treat outdoor projects for weather resistance. This care ensures your wood lasts long and looks great.