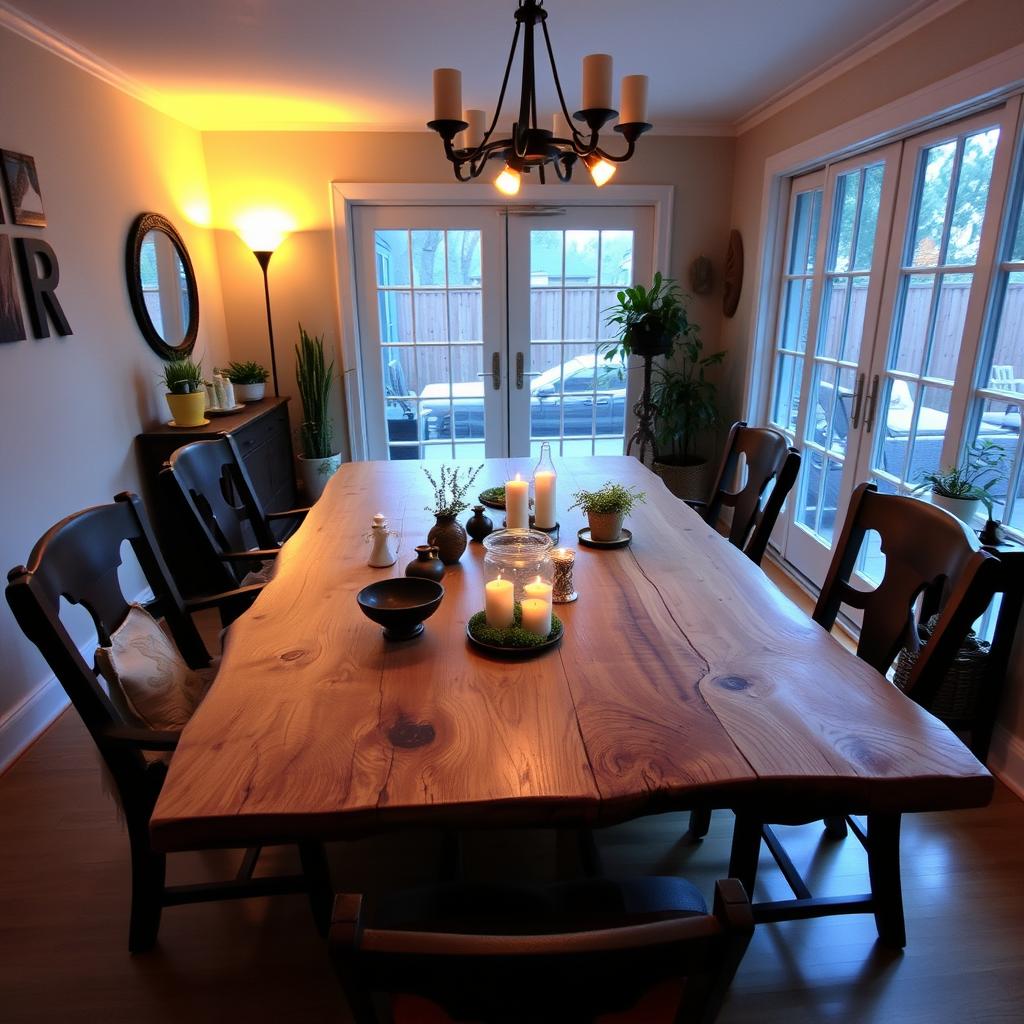
Imagine walking into your kitchen or dining room and seeing a table that’s as unique as you are. A table that doesn’t scream “big-box store” but whispers, “This is mine.” More people are discovering that woodworking for beginners isn’t just for pros anymore. With simple tools and a little time, you can build a dining table that fits your space, style, and budget.
No more settling for generic designs or overspending on furniture. This is about making something real—something that becomes part of your home’s story.
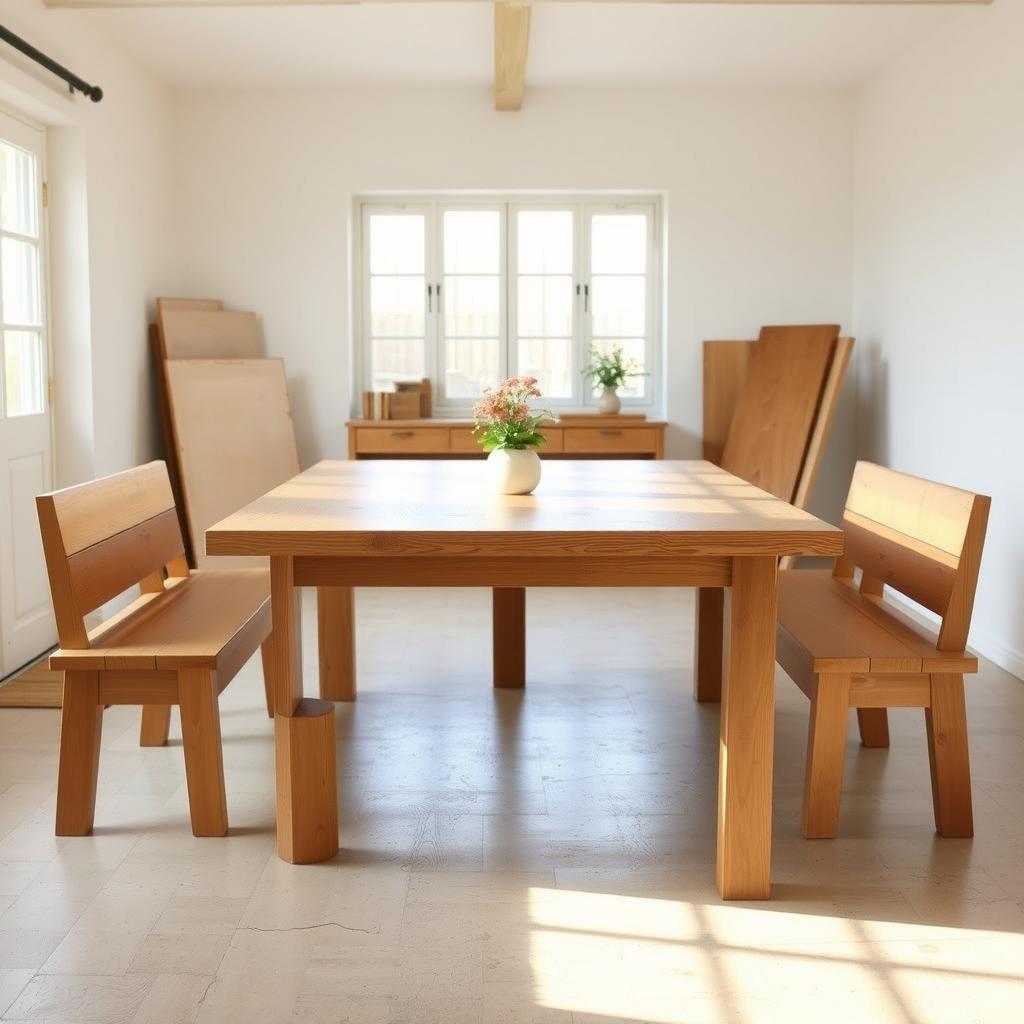
Think about it: a custom table where every scratch tells a story, every stain shade matches your walls, and every detail reflects your choices. Beginner-friendly woodworking projects to enhance home décor aren’t just trends—they’re ways to turn raw materials into memories. Whether you’re a first-timer with a weekend free or someone who’s always wanted to try, this is your chance to create more than furniture.
You’re building confidence, saving money, and adding personality to your space.
Key Takeaways
- Save up to 50% compared to store-bought tables by making your own.
- Choose wood types and designs that perfectly match your home’s vibe.
- Gain hands-on skills while creating something functional and personal.
- No need for professional tools—start with basics like a saw, sander, and clamps.
- Beginner-friendly projects let you customize size, shape, and finish without stress.
Why Building Your Own Dining Table Makes Sense
Turning raw materials into something beautiful is the start. Building a dining table is more than a project; it’s a smart choice for your home and creativity. DIY home improvement projects like this save money and let you design what you want.
Financial Benefits of DIY Furniture Projects
Premium dining tables can cost hundreds more than DIY ones. A store-bought oak table might cost $800, but making a 6’ table with quality lumber and hardware costs about $200. That’s a 75% savings. You also avoid delivery fees and middleman markups.
Customization Possibilities for Your Home
DIY woodworking projects for home décor offer endless customization. You can choose from styles like farmhouse, mid-century, or live-edge slabs. Need a 72” table? No issue. You can match your table to your room’s dimensions and style preferences perfectly.
“My table’s geometric legs are a conversation starter. I’d never find that at a store.” – Matt, first-time woodworker
The Satisfaction of Creating Something with Your Hands
Seeing rough planks become a smooth table surface is rewarding. The smell of sawdust and the precision of a tight joint build pride. Your table becomes more than furniture; it’s a story of your skill and patience.
Every scratch and stain has a story. And when guests compliment your work, you’ll know it’s all worth it.
Planning Your Perfect Dining Table Project
Starting a project right means having a clear plan. First, measure your space. Use a tape measure to find the room’s width, length, and ceiling height. Think about how many people will sit there and how many guests you’ll have.
This step helps avoid building a table that’s too big or too small for your home.
Sketch your ideas on grid paper or with a digital app like SketchUp. Choose a shape—rectangular, round, or square—and mark where chairs will go. Make sure there’s at least 36 inches between the table and walls for easy movement.
Use a string or tape to outline the table’s place on the floor before cutting wood. It’s a quick way to see how it fits.
Match the table’s style to your room’s decor. Sleek lines work well with modern spaces, while rustic finishes are great for farmhouse styles. Here’s a quick guide to get started:
| Type | Space | Best For |
|---|---|---|
| Rectangular | Long, narrow rooms | Families needing seating for 4–8 |
| Round | Small or open spaces | Encouraging conversation in cozy areas |
| Expandable | Rooms with extra floor space | Guests? Add leaves or extensions |
| Square | Compact kitchens or nooks | Small groups or intimate meals |
Break the project into weekend chunks. Plan two days for cutting and assembly, and two for sanding and finishing. Use a calendar to mark your work sessions. Even with basic tools, patience and small steps can turn simple ideas into reality.
Remember, woodworking projects for beginners are all about preparation. Adjust your plan as you go. There’s no perfect first try, just progress.
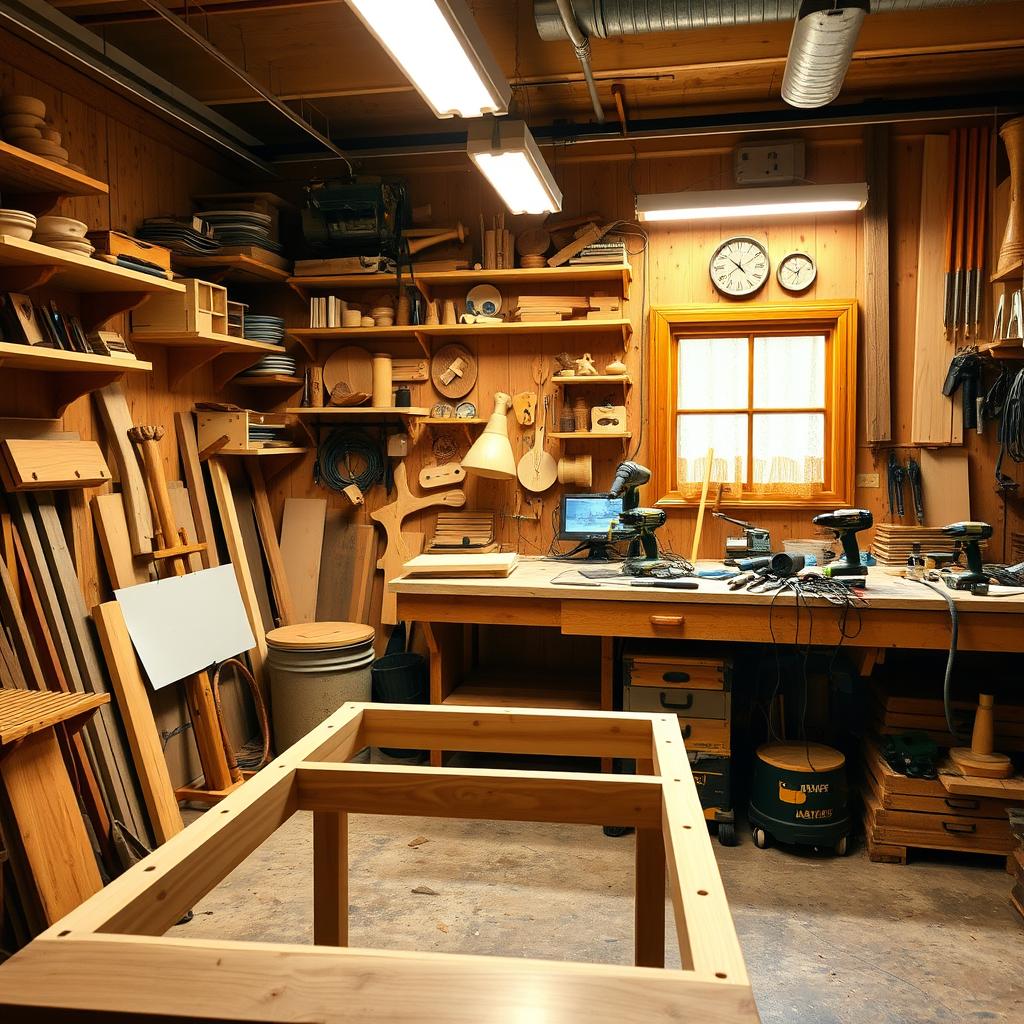
Essential Tools and Materials for Beginner Woodworkers
Starting your dining table project doesn’t need a lot of expensive tools. These basics will help you succeed with beginner woodworking tips. They keep costs down and ensure quality results.
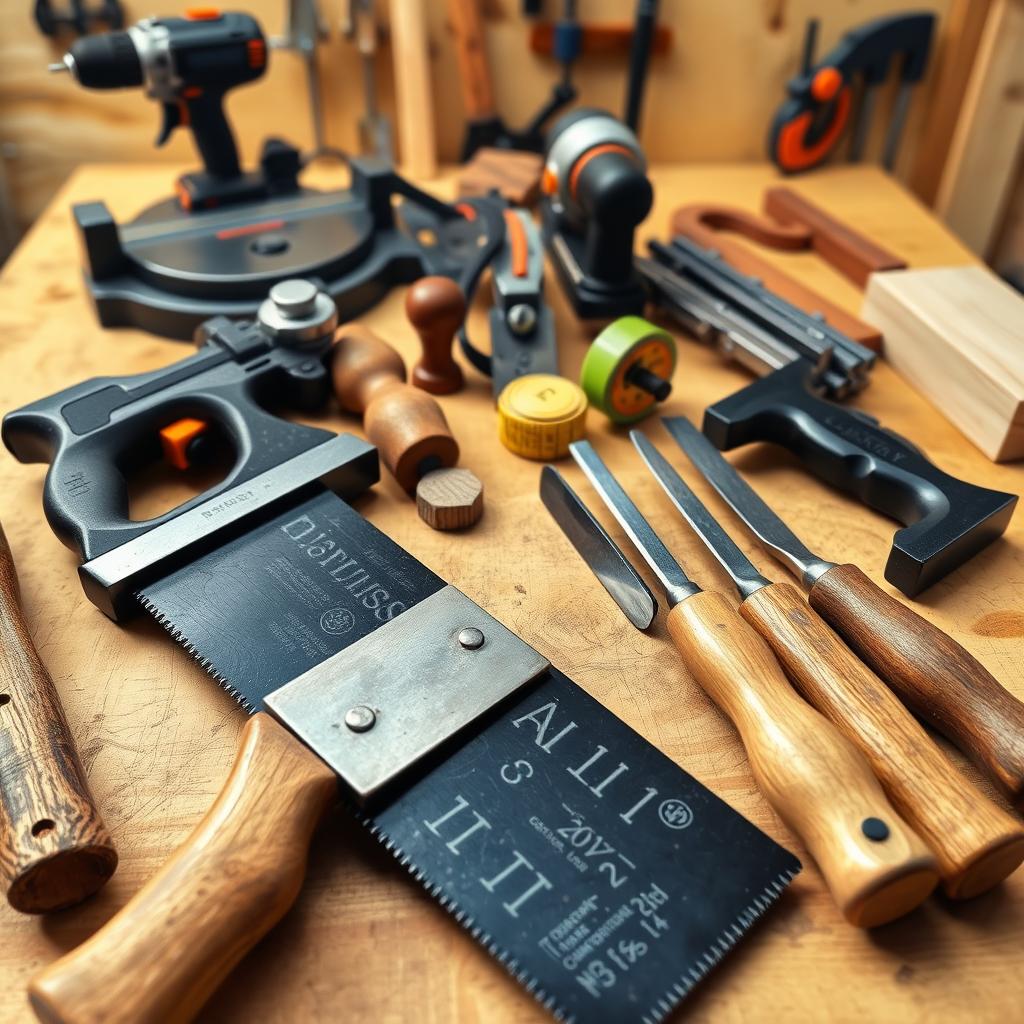
Must-Have Tools for Your First Project
A few key tools can handle most tasks. Here are the essentials:
- Circular saw (e.g., DEWALT or Skilsaw) for straight cuts
- Drill/driver for joining parts (Black+Decker or Ridgid options work well)
- Random orbit sander for smoothing surfaces
Budget-Friendly Wood Options
Pine and poplar are great for easy woodworking projects. Pine sands smoothly, and poplar hides mistakes well. Reclaimed wood from Habitat ReStore or local yards adds charm without costing much. Start with these woods, not expensive hardwoods.
“Starting with pine lets you practice joinery without risking costly materials.” –Wood Magazine
Additional Supplies You’ll Need
Complete your setup with:
- Wood glue, 2½” wood screws, and clamps
- Tape measure, square, and chalk line for accurate layouts
- Safety gear: goggles, dust mask, and work gloves
Many hardware stores sell starter tool kits for under $100. These kits include basics like clamps and a miter box. Focus on quality blades and bits—they make a big difference.
Setting a Realistic Budget for Your DIY Dining Table
Begin by making a list of all the costs for your project. Wood usually makes up 50-60% of your budget. The rest goes to hardware, tools, and finishes. Even with a small budget, you can make beautiful home décor crafts that show your style.
- Ultra-budget option ($100–$150): Use construction-grade lumber scraps, basic hardware from discount stores, and shared or borrowed tools.
- Mid-range option ($250–$400): Invest in higher-quality wood like pine or oak, plus prefinished parts and specialty adhesives.
Be smart with your shopping to stretch your budget. Buy wood in bulk for future projects, or use old furniture hardware instead of new. Many home improvement stores have seasonal sales on tools—plan your purchases wisely. Use a simple spreadsheet to track your expenses and avoid overspending.

Save 10-15% of your budget for unexpected costs like extra materials or tool repairs. Remember, the cost of materials is more important than complexity. You can achieve professional-looking results without spending a lot. With these tips, your dining table will be both useful and a showcase of your creativity.
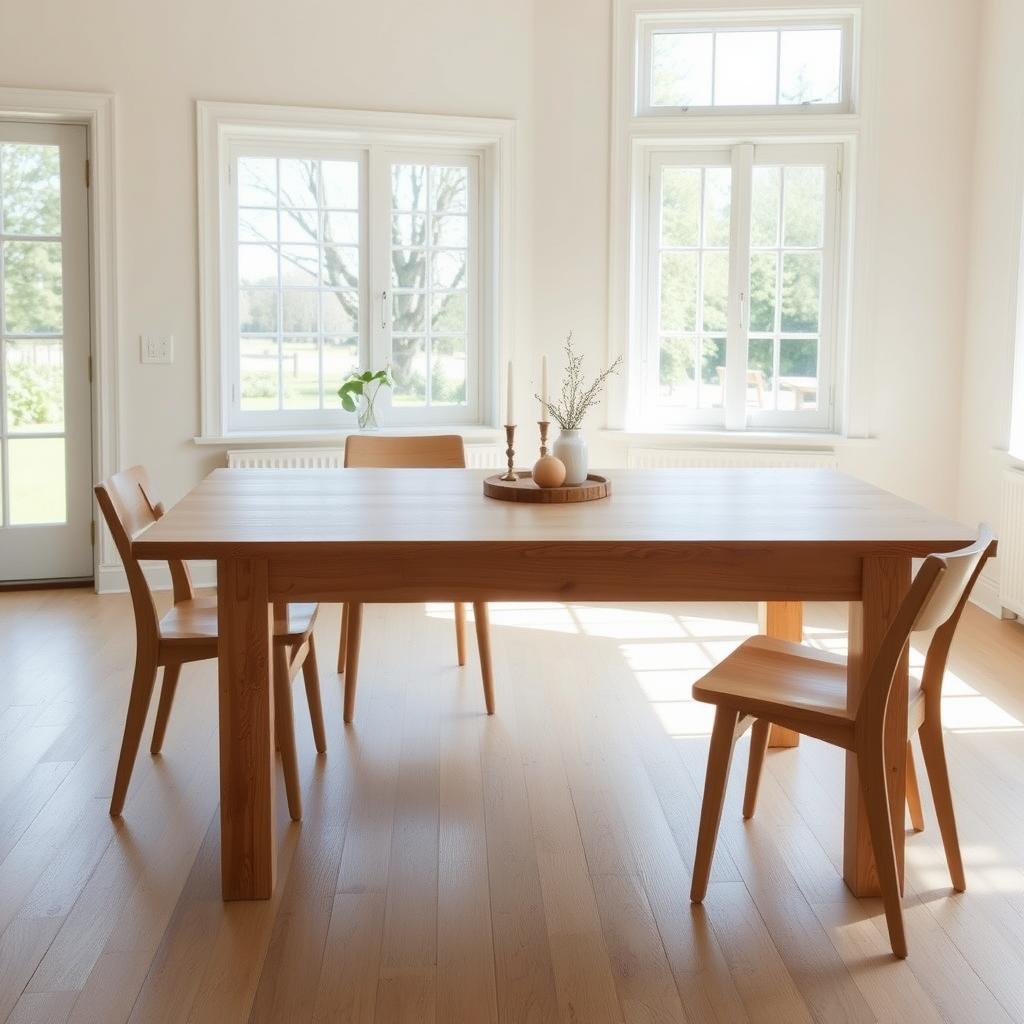
DIY Wooden Furniture: Crafting Your Own Dining Table on a Budget
Starting your woodworking for beginners journey? This section shows how to make a custom dining table from scratch. Whether you want a farmhouse look or modern lines, picking the right style is key. We’ll look at options that fit your space and skill level.
Choosing the Right Table Style for Your Space
Match your table to your room’s size and style:
- Farmhouse: Rustic, unfinished edges; great for open layouts.
- Industrial: Metal accents and reclaimed wood for urban spaces.
- Mid-Century Modern: Clean lines and tapered legs for compact areas.
Understanding Basic Woodworking Techniques
Master these steps to build confidently:
- Measure twice, cut once: Use a square ruler to avoid angled mistakes.
- Cutting straight lines: Clamp a straight edge guide to your saw for clean cuts.
- Pilot holes: Drill small holes first to prevent wood splitting.
Safety Considerations for Home Woodworkers
“Safety is the first step in every project. Protect yourself before you start.”
Always wear safety goggles, a dust mask, and secure footwear. Keep your workspace tidy to avoid tripping hazards. Never force tools—they should glide smoothly. Store sharp tools in labeled drawers when not in use.
Remember, beginner-friendly woodworking projects like dining tables build skills over time. Embrace small errors as learning moments—they refine your craft. With the right approach, your table becomes both functional art and a confidence booster.
Creating the Perfect Table Top
Choosing the right materials and techniques is key for a beautiful tabletop. Whether you’re into diy home improvement or starting with easy woodworking projects, these steps will help. They transform raw wood into a polished surface.
Wood Selection and Preparation
Begin by picking boards with straight grains and few knots. Look for wood with consistent color to keep the table’s look even. Let the wood adjust to your workshop’s humidity for a few days to prevent warping.
Use a carpenter’s square to check board edges for 90-degree angles before cutting.

Joining Boards for a Solid Surface
Combine boards into a seamless top using beginner-friendly methods. Try pocket-hole joinery for hidden screws or biscuit joints for a clean edge. Here’s how to glue boards effectively:
- Apply wood glue along the edges with a brush.
- Clamp boards together evenly, using cauls to distribute pressure.
- Wipe excess glue with a damp cloth before it dries.
Check the surface with a long straightedge to ensure flatness before moving on.
Edge Treatments and Detailing
Add character with edge details that match your style. Options include:
- Square edge: A clean look for modern designs.
- Rounded edge: Smooth to the touch and classic.
- Routed detail: Add grooves or patterns with a router for a custom touch.
Always sand edges after shaping to remove rough spots. The right edge style turns a basic tabletop into a showpiece.
Building Sturdy Table Legs and Support Structures
Choose the right legs for your dining table with simple woodworking ideas. Look for a mix of strength and style. Here are some popular options:
- 4×4 wooden posts for rustic looks
- Tapered legs for elegance
- Hairpin metal legs for modern flair
- Trestle bases for classic farmhouse designs
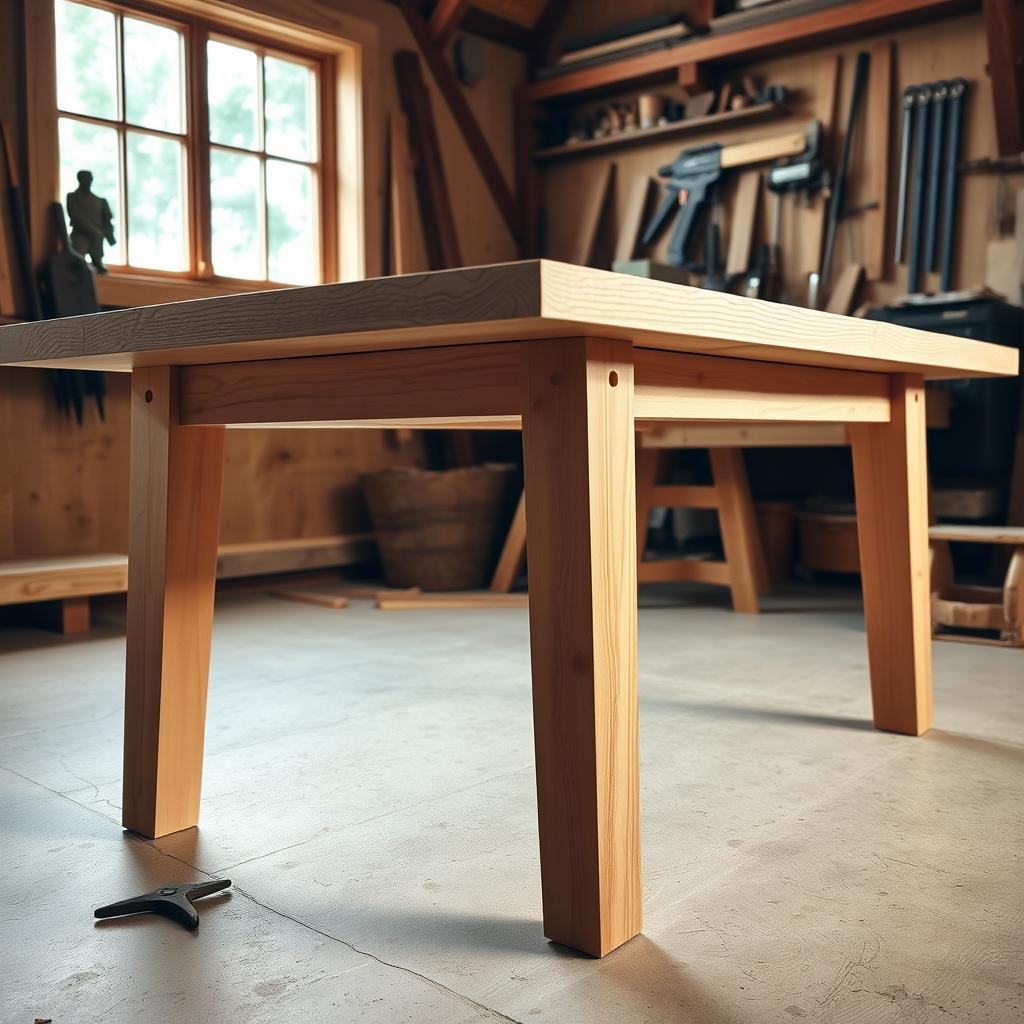
Now, let’s build the apron. It connects the legs to the tabletop. Follow these steps:
- Measure your tabletop width to size apron pieces
- Use pocket holes or mortise-and-tenon joints for secure joins
- Attach aprons to legs using wood screws for stability
| Table Length | Apron Thickness |
|---|---|
| 4-5ft | 1.5-2in |
| 6-7ft | 2-2.5in |
| 8ft+ | 3in minimum |
Make sure your table is stable with these tips:
- Check legs are level using a spirit level
- Test square corners with the 3-4-5 triangle method
- Add diagonal braces for extra support
To stop wobbling, even out leg lengths with sandpaper shims. Use wood glue before screws. These woodworking projects for home décor tips will make your table last for years. Double-check your measurements and tighten every joint. Your future self will appreciate it!
Finishing Touches That Make Your Table Shine
After building your table, the finishing touches make it shine. These steps mix function with beauty, turning it into a home décor crafts gem.
Sanding Techniques for a Smooth Surface
Begin with 80-grit sandpaper to smooth out the wood. Then, move to 120-, 220-, and 320-grit for a mirror-like finish. Follow these steps:
- Sand in the wood grain direction to avoid scratches.
- Wipe surfaces with a damp cloth between grits to remove dust.
- Pay extra attention to edges and curves, where sanding is harder.
Staining Options for Different Wood Types
Test stains on scrap wood before applying them to your table. Use gel stains for open-pore woods like oak. For smooth woods like maple, liquid stains are better. Varathane offers easy-to-use options. Softwoods like pine may need a pre-stain conditioner to avoid blotches.
Protective Coatings for Longevity
For dining tables, pick finishes that are safe for food. Howard Feed-N-Wax adds a warm touch with oil-based finishes. Water-based polyurethane (like Behr Premium Polyurethane) is durable and simple to apply. Apply thin coats, waiting 4-6 hours between layers. The final coat should cure for 24 hours before use.
Be patient during this stage. Rushing can spoil all your hard work. These beginner woodworking tips help your table look great and last for years. Every sanding stroke and brush stroke adds to your creation’s value.
Creative Ways to Customize Your Handmade Dining Table
Adding personal touches to your dining table makes it a true reflection of your style. Even small changes can make a big impact, perfect for those starting with beginner-friendly home renovation. Here’s how to make your table unique without feeling overwhelmed.
| Customization Idea | Materials Needed | Difficulty Level |
|---|---|---|
| Wood inlays with contrasting tones | Veneer strips, router, wood glue | Easy |
| Metal corner brackets | Decorative brackets, screws | Moderate |
| Two-tone stain finishes | Two stain colors, painter’s tape | Easy |
| Pedestal base design | Round base kit, hardware | Moderate |
Begin with edge detailing or a simple stain blend if you’re new to woodworking projects for beginners. For instance, routing a groove for contrasting wood strips adds depth without needing advanced tools. Metal brackets under the table’s corners can modernize a rustic design—attach them during assembly for instant flair.
- Test stains on scrap wood first to match your vision.
- Use pre-cut veneer strips to simplify inlay work.
- Choose pre-assembled bases to save time.
Your table’s story starts here. Pick one or two ideas to experiment with. Every tweak transforms your project into a lasting home upgrade anyone can achieve.
Maintaining Your DIY Wooden Furniture for Years to Come
Keep your work safe with simple care. Proper care makes your handmade table last for decades. These diy home improvement tips are easy for beginners.

Regular Cleaning and Care Routines
Dust surfaces daily with microfiber cloths. For spills, blot with a damp cloth, not soaking. Use mild soap and water instead of ammonia cleaners. Here’s what to do:
- Always use coasters under glasses and plates
- Wipe surfaces monthly with a beeswax polish
- Rotate tablecloths seasonally to avoid stain buildup
Addressing Scratches and Damage
Minor flaws are normal. For light scratches, buff with 400-grit sandpaper in wood grain. Deeper marks? Use wood filler and sand smooth. These beginner woodworking tips help fix issues without fancy tools:
- Apply wood putty to dents, let dry, then sand
- Test touch-up stains on hidden areas first
- Seal repairs with a clear protective coat
When and How to Refinish Your Table
Strip and refinish every 5–7 years for heavy wear. Use painter’s tape to protect edges when sanding. Follow these steps:
“Sand, stain, and seal in a well-ventilated area. Patience during drying ensures flawless results.”
Always prep surfaces with 220-grit sandpaper before applying new finishes. This adds decades to your project.
Conclusion
Building a dining table from scratch might seem daunting at first. But the joy of using it for family meals makes it all worth it. You’ve discovered how woodworking projects can save money and let you design your space perfectly.
Mistakes are part of the journey. They teach you about tools and materials. Each mistake is a lesson learned.
Start small if a full table seems overwhelming. Try making a side table or bench first. These projects help you learn techniques before moving on to bigger projects.
Every skill you gain brings you closer to your bigger goals. You’ll be ready to tackle more furniture projects soon.
Don’t be afraid to share your progress online or in local maker communities. Seeing others’ work can spark new ideas. Asking questions helps everyone learn and grow.
Every step, from sanding to staining, brings you closer to a room filled with handmade pieces. Your new table is more than furniture. It’s proof of your hard work and dedication.
So, grab your tools, choose your wood, and start creating. The next time you host a meal, you’ll enjoy it at the heart of your home. Surrounded by your own creativity.
FAQ
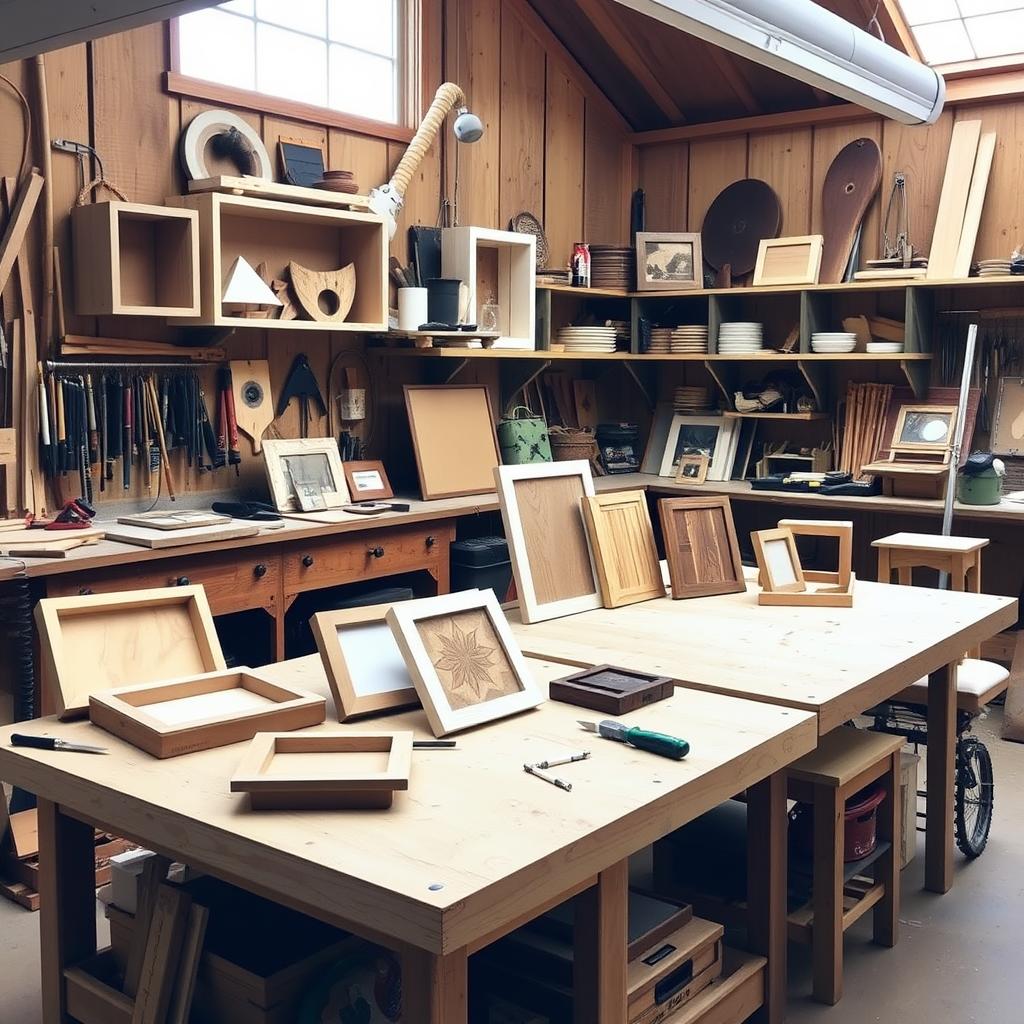
What are some beginner-friendly woodworking projects to enhance my home décor?
There are many easy woodworking projects to make your home look better. Start with simple things like shelves, picture frames, or a small coffee table. These projects are great for beginners and can quickly make your home feel more personal.
Do I need special tools for woodworking as a beginner?
You don’t need a lot of tools to start woodworking. Basic tools like a circular saw, drill, and sander are enough. You can borrow or buy these tools. Starting with a few essential items is a good way to begin.
How much should I budget for a DIY wooden furniture project?
The cost varies by project. A small shelving unit might cost $50, while a dining table could be $100 to $400. Make a spreadsheet to track costs for wood, hardware, and tools. This will help you stay organized.
What are some beginner woodworking tips?
Begin by practicing basic skills like measuring and cutting. Always double-check your measurements to avoid errors. Wear safety gear and take your time. Enjoy the process of working with wood. Simple projects can lead to beautiful pieces for your home.
Can I incorporate creative elements into my handmade furniture?
Yes, you can definitely add your own touch to your projects. Try adding decorative inlays, unique paint colors, or combining wood and metal. It’s a great way to show your style while working on beginner-friendly projects.
What kinds of finishes should I use for my wooden furniture?
Choose finishes based on the look you want. You can use stains, paints, oils, or protective coatings like polyurethane. Each finish works differently with different woods. Always test a small area first. Protective coatings help keep your piece looking good for years.